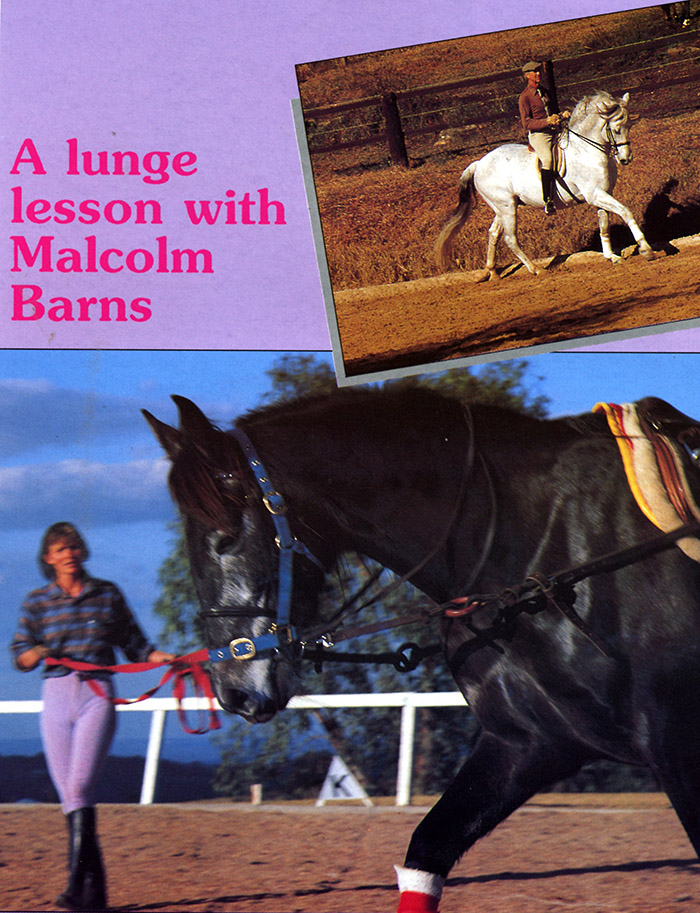
What gear do you need to lunge your horse safely?
I always feel that when we are lunging it is necessary to use side reins if we are to really work the horse, and there is quite an art in attaching the side reins so that they have the desired affect. Attach the side reins at about the rider’s knee level and you need to make sure they can’t slip down, so use a two strap girth, or secure with string.
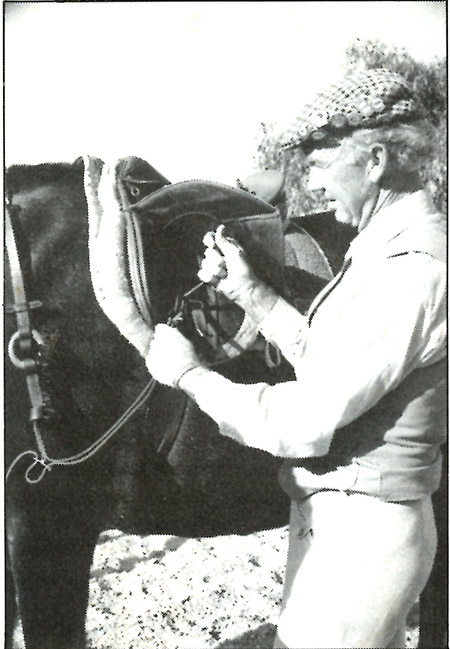
Your stirrups need to be put up out of the way or taken off so they don’t hit the horse when he is moving. Put them up like you do when you dismount, then you take the leather to the front, and back through the stirrup iron, and pull it tight, you’re really tying the leather on itself above the stirrup iron, and it won’t slip down. Or you can take the stirrups right off.
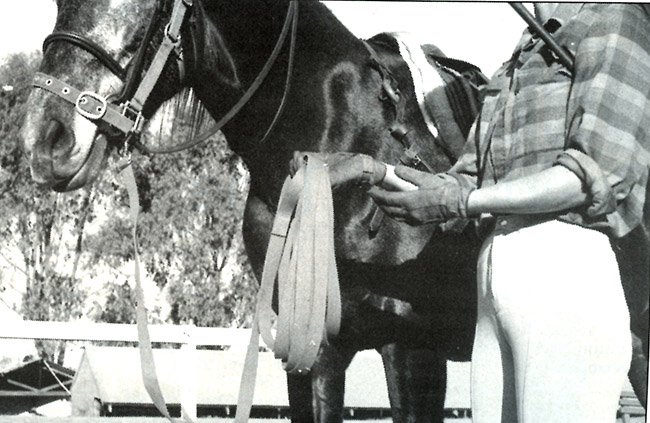
If you are going to put a rider on the horse, it always gives them confidence to know that if something goes wrong they can control the horse, they want to have the direct contact. This is a good safe way to put the reins out of the way. You put the reins over the horse’s neck, and then over again. A rider can reach the reins, whereas if they’re tied up, or knotted with the throat latch, or whatever, it gives the rider less confidence.

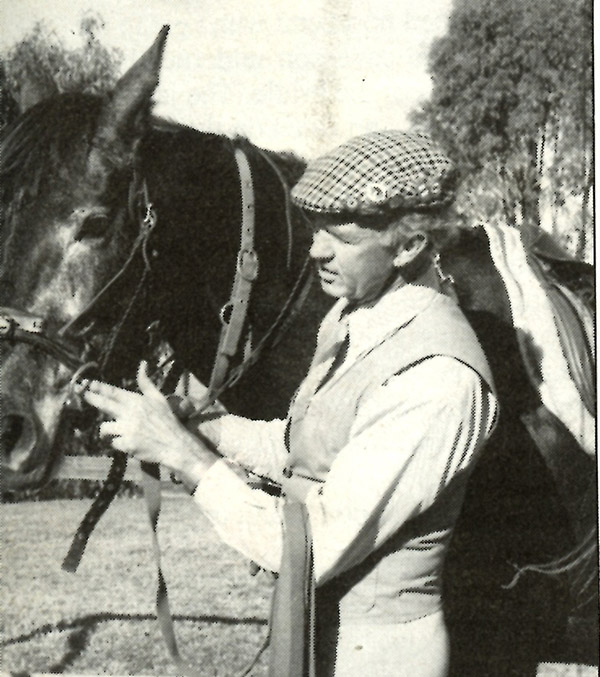
You can lunge in a headcollar, properly designed lunging cavessons are expensive and hard to find. I like to fit the headcollar low so it gets purchase on the lower part of the nose. If you have it up high, they can really learn to pull away because they’re too strong there, so I drop it down a little bit.
I attach the lunge line to the inside of the headcollar, not underneath. I like to be as mild as possible, and if they’ll work like this, that’s great. Take care if you are using a lunging cavesson, because if they hit you with a cavesson, you haven’t got too many teeth left.
more on lunging safely follows

If you are using a lunging cavesson, you must remove your cavesson noseband, but a dropped noseband won’t get in the way. Put the cavesson underneath the cheek pieces of the bridle. The jaw stop must be tight, and fitted on the jaw, not like a throat latch. This stops the cavesson from slipping around onto the horse’s eye on the other side. The nose piece should be quite firm too, and as it is padded, it can be. It mustn’t be loose or it’s going to twist around. It should be fitted like a cavesson noseband, two fingers below the cheek bone, and two fingers above the lips so that it doesn’t jam. If it’s down too low, the lips get pinched between it and the bit.
If you’re just learning to lunge, a cavesson gives you more control, because if the lunge line were attached to the bit, you could do damage, and you might lose the horse with a headcollar, so a cavesson gives you more control, and you can’t be rough on the mouth at all. With the lunging cavesson, attach the lunge line to the inside ring, for more control use the middle ring, but even though you’ve got more control, it tends to twist around on the horse’s head, so it’s better to be on the inside.
If you have a horse that evades you by putting it’s head to the outside and really pulling away from you in a headcollar, use a cavesson on the centre ring, or attach the lunge line to the bit because they must not turn to the outside. The side reins help to stop that too, because the side reins keep them straight. So if they turn their head to the inside and run at you, or turn their head to the outside and run away from you, they meet that other side rein which helps to stop them from that evasion.
If you’re lunging a rider, don’t lunge on a head collar – the horse must accept being lunged from the bit . If you’re lunging a rider for one reason or the other, they may do something that might upset the horse and set it off, and you’ve got to be able to stop it before it gets going. They could really pull away from you in a headcollar, or even in a cavesson, so I really believe if you’re lunging a rider, a beginner rider who is learning to sit, or an advanced rider who is having seat correction, then you lunge on the bit. Then you’ve got the horse, because the comfort of the horse is secondary to the safety of the rider. The first thing is that you’ve got to stop that horse from running away so that they don’t have a fall.
If you really have trouble holding a horse, thread the lunging line through the bit ring on the near side, over the top of the head and clip it onto the bit ring on the off side – vice versa when you are lunging on the off rein. That is the most severe method – and sometimes it might be necessary – but I always try it out in a milder way, and then come right back to the head collar if possible … but with the rider, always a bit!
more follows

When we are first lunging the horse, the side reins should be so long that the horse just doesn’t meet them at all. They are just working on the weight of the side reins, and there is no contact at all. Keep working them long until they accept that, it is always better to be too long than too short with the side reins. Err on the long side if you have to. Gradually over a period of time, which might be a few weeks, shorten the side reins bit by bit.
I like both side reins the same length – although some people like the inside rein shorter, I find that creates problems. Gradually shorten up the reins, a hole at a time, until ultimately when the horse is at the halt, he is just behind the vertical. This is the final stage, and not the stage for a young horse. The side reins are always the last thing clipped up, and the first thing undone, so the horse can stretch his neck. NEVER lead the horse in side reins, they can get a fright and rear and flip right over. Clip them together over the horse’s neck.
The trainer lunging the horse must wear gloves – so you don’t get rope burns and don’t get your hand caught in the lunge line. You must lunge in an enclosed area, preferably a round yard with a diameter of 39-42 feet or about 14 or 15 metres. A comer of a small paddock will do, then you can use the fence at the corner to stop your horse if it gets going. An indoor school is great – the main thing is that you need a wall, because often you have to squeeze the horse between the whip and the wall to push him forward. If you haven’t got that fence or wall there, then when you try to push the horse forward, instead of going forward he just goes sideways. You could make yourself a nice round yard with bales of straw, or forty four gallon drums and rails – that would be ideal. When the horse sees that it has no chance of running away, it is easier to get it on the circle and lunging.
With young horses, or difficult horses, or horses that have been taught to lunge badly, if you put them in a big area, they have the advantage because they have all the evasions.

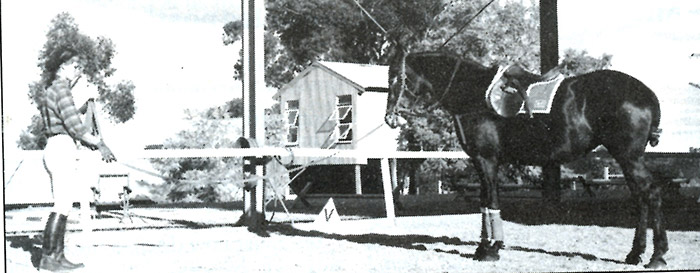
Lots of horses are not too keen to start lunging – and it is an art. Sometimes you might need an assistant on the outside, walking to get the horse started gradually. And make sure your assistant helps you get the horse going both ways. Start in the centre of the circle and stand back towards the horse’s hindquarters with the whip a little bit raised so you are driving the horse forward.
So many people stand in front of the horse and crack their whip and wonder why they go backwards rather than forwards. You must drive the horse forward onto the circle.
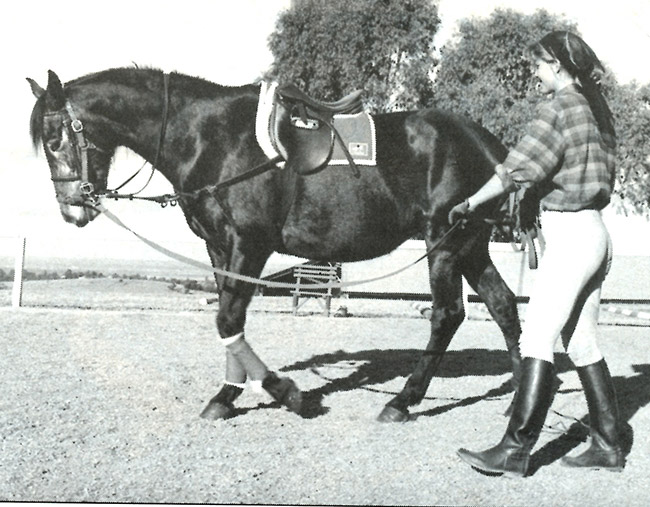
Robyn has the loop in the lunge line so and is standing well behind the mare, so that it is easy for her to drive her out. If the horse is free moving you hold the whip a little more forward, almost to the lunging line – if the horse is not so free you might have to move the whip back to drive it forward. It’s called a forward whip or a backward whip.
With the lunge whip, the lash is always too short when you buy them – so I remove the cracker and just put two or three metres of clothes line cord, the sort you can buy at any supermarket. Your whip must be able to reach the horse, otherwise they soon find out that they don’t have to go. You must be able to touch them, you shouldn’t be cracking and cracking. I like to keep the vocal commands to a minimum and use very distinctive tones for each command so it is easy for the horse to understand what you want.
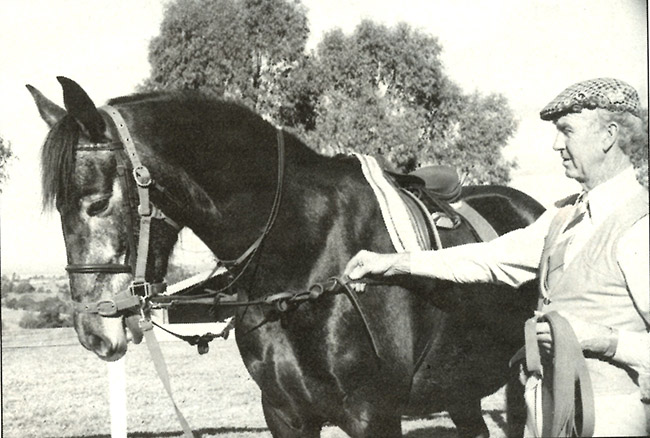
When I am lunging I like to put boots on the horse’s front legs, but not on the hind legs when I’m lunging a rider, that can be dangerous if the lunge line gets caught in the boots. We want the horse to take a bit of contact – I would like the horse to take the weight of the trainer’s arm, so that · the horse is not too light and travelling on nothing. Rather we should have an elastic contact and the trainer has to push the horse so that it doesn’t stop when she puts that bit of weight on it. When you are riding a horse it has to take a bit of weight and push into it, so when you are lunging you should be preparing the horse for that.
You can use that little bit of contact to draw the horse forward, when you want to canter or move on a little – use the whip to drive, and the hand to draw the horse a little bit forwards. Don’t do much walk with the side reins attached, because the side reins are going to restrict the walk. Just enough walk to get the horse out onto the circle and then it is far better to move fairly quickly into your trot work and do mainly trot work. Not too much canter, perhaps later on when you are more experienced and the horse is going better, do some canter work then.
At the end of your work, unclip the side reins, and walk your horse without the side reins at all, so that it can use its full length of neck and really stride along. We use two hands lunging a horse. If you are going to the left, the right hand holds the loops and the whip, and the left hand does a lot of adjusting. It shortens and puts the spare loops back into the right hand, if the horse is coming in, or it feeds out the loops if the horse is going out on the circle.
You do really anchor the horse with that right hand, and the left hand is much more flexible. You don’t take the contact away from the right hand you keep a certain amount of contact with that hand, so that if you have resistance from the nose, you take that resistance with both hands – not one. If you just use one hand the horse might find that it can get on top of you. It is a bit like riding – you use both hands, not just one.
If you have the loops and the contact in the one hand and the horse comes in to you, you’ll find you have a whole lot of spaghetti at your feet. If it pulls away, then you will be walking all the time to keep up with the horse. It is much better to feed out and wind in, using the two hands. When you change your rein, you always put your hand in from the same side. You don’t come from the back and end up tangled around the lunge rein.
more lunging tips follow
When you want to stop the horse, as the horse comes round and is facing the fence, then you go to the fence to and turn the horse into the fence and say halt. You cut the horse off. Don’t pull the horse into the circle – the horse must halt and stay out on the circle. Otherwise it will learn very quickly to turn into the circle every time you come back to a walk, and then it is hard to stop a rider out on the circle without the horse coming in all over you.
The lunge whip should be rolled up and then hung up by the end – otherwise it will get a bow in it if you stand it, and it is not so nicely balanced in your hand. I always like my horses to be lunged before I work them. It’s a great help for any one, especially if you only have limited time to spend with you horse – and anyone can learn to lunge. So if you have a mum or someone with a bit of free time, enlist their help to get your horse worked.
If you like dressage, there’s 100s of articles with the world’s top trainers just a click away….